DIY Mid-Century Style Beer Crate Side Table

Every once in a while one of my (many) project failures turns into an unexpected success.

I originally started out staining a smaller wooden crate in which I received some cheese I won (I know, I’m the luckiest girl alive) to make into a side table. All was going well until I tried to attach the hairpin legs that I ordered and found that their bases were too wide to even fit onto the box itself. Since all of my messier projects are done at my parents’, I scavenged around to find something else I could attach the legs to.

img_9875

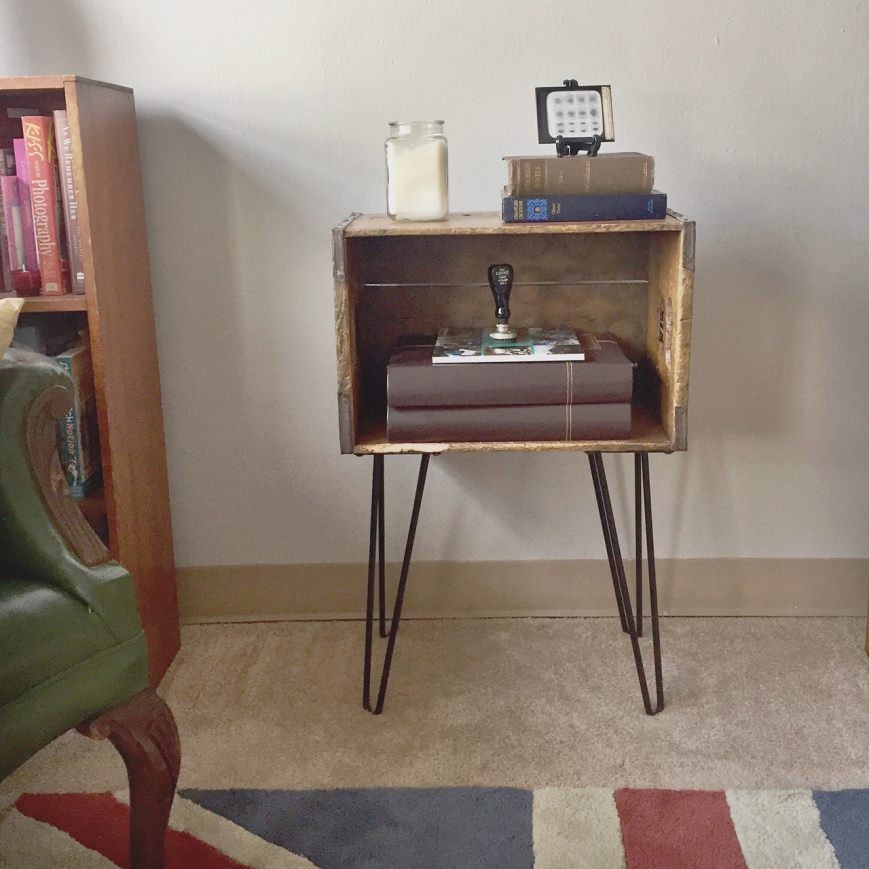
I remembered an old wooden Pabst Blue Ribbon crate that used to hold firewood at our house and dug it out of the garage. After dumping out the wood scraps and cleaning the dust off, it was the exact style I was looking for, right down to the “Blue Ribbon” stamp on the side and the circular bottle marks worn onto it—and, more importantly, the perfect size for attaching the hairpin legs!

img_9874

I gave the crate a cleaning and a couple of coats of stain. After shaving down the length of the screws so they wouldn’t poke through onto what would become the bottom shelf (another perk of doing projects at home since I don’t exactly have a sawzall in my apartment—thanks, Dad!), the legs attached easily and I had a new-old table! 

img_9873

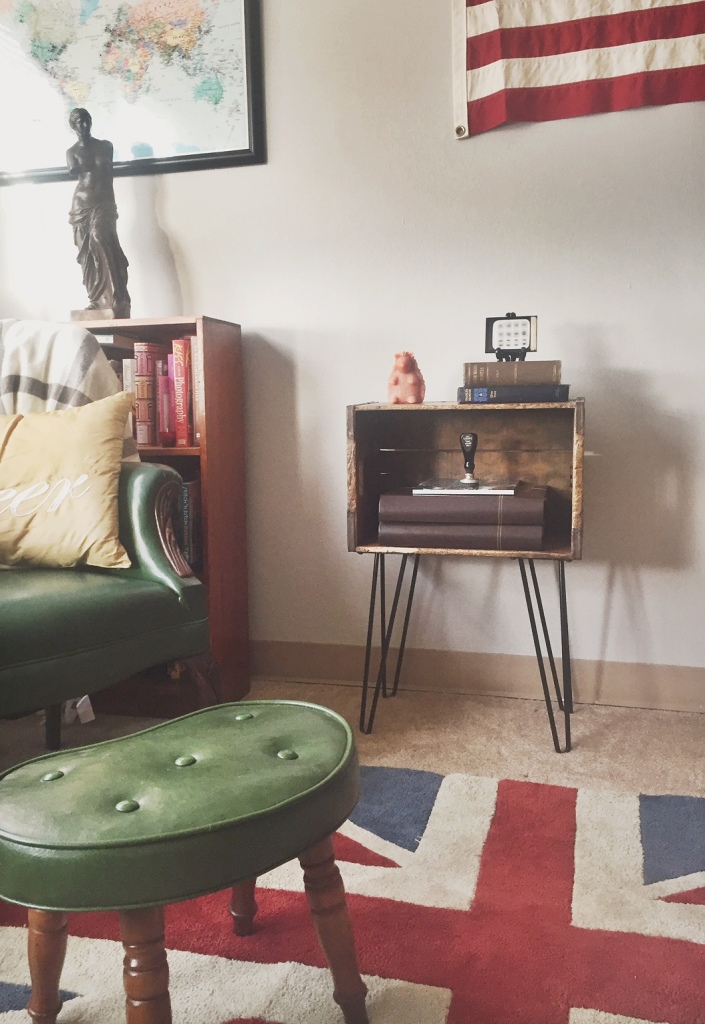
I absolutely love how this table turned out. From the size to the color to the beer theme, it was the perfect thing to use (and much better than the one I originally intended on using).

img_9870

It fits right into my apartment and is the perfect scale for a small space. I wasn’t sure what I would use it for, but it’s been working great to hold photo albums and assorted tchotchkes I want to display (like my antique mitochondria slide, duh).

img_9871

Stenciled Scotland Messenger Bag

Have you ever wanted to stencil the name of a country you’ve never been to onto a thrift store messenger bag? I certainly have. So I did.

image2

Sunday morning in nowhere-near-Scotland vibes.

Like so many of my projects, this one has a long and storied past, but I’ll try to keep it succinct. I’m half Scottish and decided I needed to make a Scotland sweatshirt (I guess I forgot that the internet exists so that we don’t live like pilgrims making all the clothes we desire). I painstakingly made a stencil and stenciled it onto a sweatshirt and, don’t you know, it looked great. Then I washed and shrunk the sweatshirt so it no longer fit me. It was fun while it lasted. But I hung onto the stencil for a long time, just waiting for the perfect item on which to try again to fall into my hands. And then I found this canvas messenger bag at a thrift store. And THEN a few years went by and here we are today.

image4

The blank canvas (bag), perfect for carrying around heather and haggis.

So that’s what I started with. Actually, I should back up. I started with a printout of a crest and the word “Scotland” in the font I wanted, a blank sheet of stencil material, and an Exacto knife. That’s how the stencil came to be. It took forever, by the way.

I measured where I wanted to put the stencil so it was centered on the front of the bag and pinned it there. A note about this: the first time I stenciled the sweatshirt, I used some sort of temporary spray adhesive that worked great and the stencil turned out perfectly. I couldn’t find it at the store this time and the guy recommended just using push pins. Needless to say, go with the spray if you can find it: way easier, less time-consuming, and better results. I am going to give that guy a piece of my mind if I ever see him again.

image6

Here are the two stencils pinned down with 8 million stick pins. The pins worked OK but were not ideal.

Once the stencils were pinned down, I used one of those cheap foam brushes to dab on the paint. I just mixed blue and black craft paints that I already had to make the navy color I was looking for. #resourceful. Unsurprisingly, the pins got in the way (and had to be tossed after), another reason the spray adhesive would have worked better.

image8

Painted but before the big reveal.

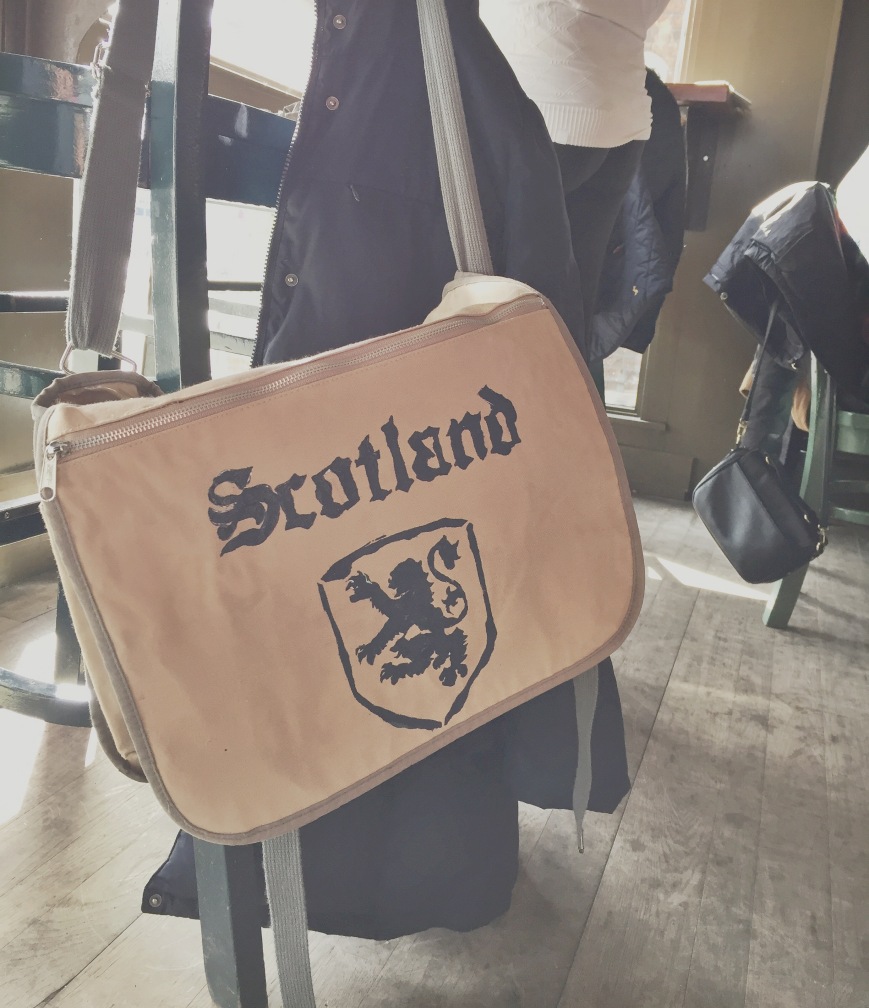
But it still turned out pretty well! The fact that the paint seeped under the stencil a little actually kind of gave it character and made it look not-so-perfect, in a good way (or so say I when I’m justifying why it’s not perfect). But, baby, it’s perfect to me.

image1

The finished product. Imagine me on the floor of the coffee shop taking these pictures to get the full visual.

The good news is that the design is actually legible, and I can reuse the stencil again and slap something on top of this if I decide that I hate it. But I think I like it. It’s growing on me! They may take my life, but they’ll never take my STENCILSSSS!

Urban Gardening

That’s right folks—my green thumb is back! What that means is I’ve purchased pre-grown plants from the store and have made a commitment to them, myself, and all of you to try to keep them alive for a while. The weird thing about doing gardening as simple as replanting when you live in an apartment building is that you don’t really have access to dirt. So I took a mixing bowl and, under the cover of night, snuck a few scoops from the front “yard” (about five square feet of grass) of my complex. Don’t tell my landlord.

image1-11

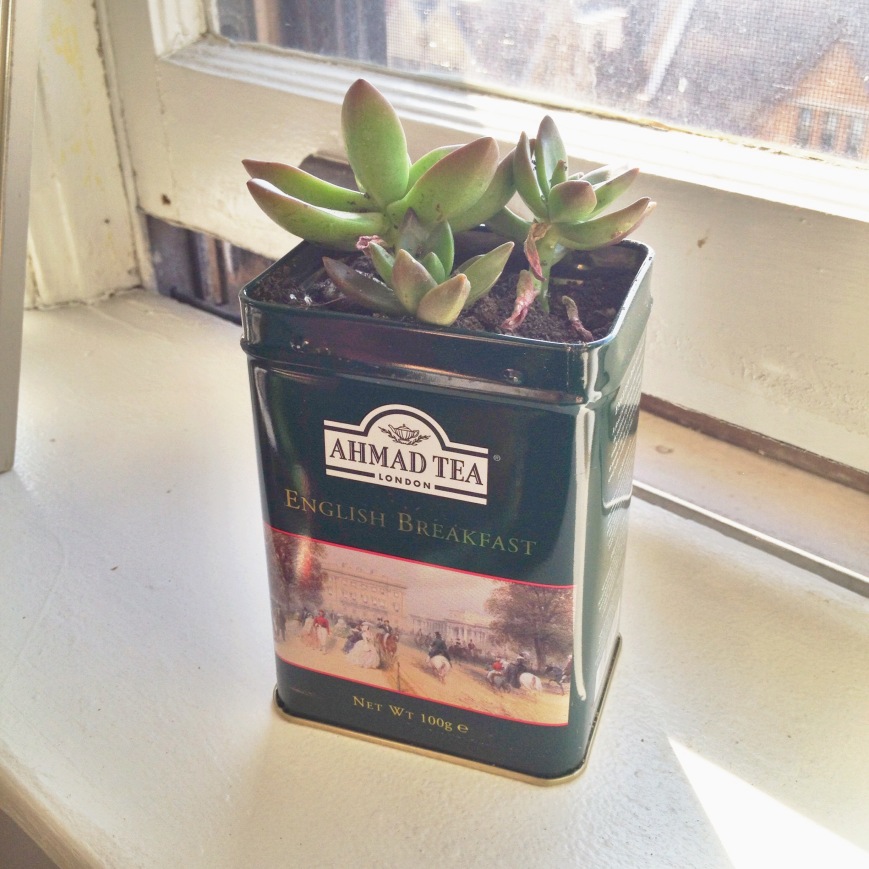
I got the idea on Pinterest to reuse tea tins as planters. And since I had a few English teas in cute tins lying around, I bought a couple of ADORABLE and tiny succulents to fill them! Plus, I, of course, love the British decoration of the tins. Here are two succulents sharing a home in a double-decker bus tea tin. (I’m hoping the sparse one recovers after being dropped on its head.)

image6-2   And here’s a solo plant in an English breakfast tea tin.

image3-2There have got to be tons more things you can do with these tins, but I haven’t come up with any other ideas yet. Anyone have some? Just in case, I better keep drinking tea.